Zigbee ist das stille Arbeitspferd hinter einem großen Teil der Smart-Home- und Sensorwelt — die Technik in unzähligen drahtlosen Leuchtmitteln, Bewegungsmeldern, Türkontakten und Steckdosen. Es ist genau für die Aufgaben gebaut, bei denen WLAN zu stromhungrig und die Reichweite von Bluetooth zu kurz ist: viele kleine, batteriefreundliche Geräte, die ein ganzes Gebäude zuverlässig abdecken müssen. Dieser Leitfaden setzt voraus, dass Sie nichts darüber wissen. Am Ende verstehen Sie, wie Zigbee wirklich funktioniert — seine Rollen, sein Mesh, seinen Stack, seine Sicherheit — und, am wichtigsten, Sie haben ein echtes, funktionierendes Zigbee-Netz gebaut, dessen Sensordaten in MQTT fließen, bereit für ein Dashboard oder eine Automatisierung.
Was Zigbee wirklich ist
Zigbee ist ein stromsparendes, datenarmes drahtloses Mesh-Netzwerkprotokoll zur Verbindung vieler kleiner Geräte. Sein gesamtes Design ist auf drei Ziele optimiert: kaum Strom verbrauchen (damit Geräte jahrelang mit einer Knopfzelle laufen), ein selbstorganisierendes Mesh bilden (damit die Abdeckung mit jedem Gerät wächst) und günstig und einfach genug bleiben, um in einen Lichtschalter zu passen. Es wird von der Connectivity Standards Alliance (früher Zigbee Alliance) gepflegt und ist eine der weltweit am weitesten verbreiteten Smart-Home-Technologien.
Aufgebaut auf IEEE 802.15.4
Zigbee definiert nicht alles selbst. Seine unteren zwei Schichten — das Funkmodul (PHY) und der Medienzugriff (MAC) — sind der Industriestandard IEEE 802.15.4, dieselbe stromsparende Funkbasis, die auch Thread und andere nutzen. Darauf ergänzt Zigbee seine eigenen Netzwerk-, Anwendungs- und Sicherheitsschichten. Diese Aufteilung ist wichtig: 802.15.4 gibt Zigbee sein effizientes stromsparendes Funkmodul, und Zigbee gibt 802.15.4 das Mesh, das Gerätemodell und die Interoperabilität.
Warum Zigbee — und wo es glänzt
- Sehr geringer Stromverbrauch: Batteriegeräte laufen jahrelang, weil sie fast die ganze Zeit schlafen.
- Mesh-Abdeckung: netzbetriebene Geräte leiten Nachrichten weiter, sodass das Netz ein ganzes Haus erreicht und sich selbst heilt, wenn ein Knoten ausfällt.
- Skalierung: ein einzelnes Zigbee-Netz kann Hunderte Geräte fassen.
- Interoperabilität: mit Zigbee 3.0 können Geräte verschiedener Marken zusammenarbeiten.
- Niedrige Kosten: die Chips sind günstig, weshalb Zigbee in so vielen bezahlbaren Smart-Geräten steckt.
Sein Idealbereich sind kleine, häufige, bandbreitenarme Nachrichten — ein Temperaturwert, ein „Bewegung erkannt", ein „Licht an" — über viele Geräte. Für Video oder große Datenmengen ist es nicht gedacht; das ist die Aufgabe von WLAN.
Die drei Geräterollen
Jedes Zigbee-Gerät spielt eine von drei Rollen, und sie zu verstehen ist der Schlüssel zum ganzen System:
- Koordinator (einer pro Netz): er erstellt das Netz, wählt Kanal und Netzkennungen und ist die Sicherheitsinstanz („Trust Center"). Es gibt genau einen, und er ist immer eingeschaltet. Im Smart Home ist das Ihr Zigbee-Hub oder USB-Stick.
- Router: ein dauerhaft mit Strom versorgtes Gerät (eine Steckdose, ein Leuchtmittel), das Nachrichten für andere weiterleitet und so das Mesh erweitert. Router sind das Rückgrat, das Zigbee seine Reichweite gibt.
- End Device (Endgerät): ein Blattknoten — meist ein Batteriesensor. Es leitet für niemanden weiter und kann schlafen, um Strom zu sparen, und wacht nur auf, um Daten zu senden oder Nachrichten abzuholen. Deshalb hält ein Zigbee-Sensor jahrelang mit einer kleinen Batterie.
Eine einfache Regel: netzbetriebene Dinge sind meist Router (und erweitern Ihr Netz); Batteriegeräte sind Endgeräte (und verlassen sich auf die Router um sie herum).
Das Mesh: wie Nachrichten reisen und heilen
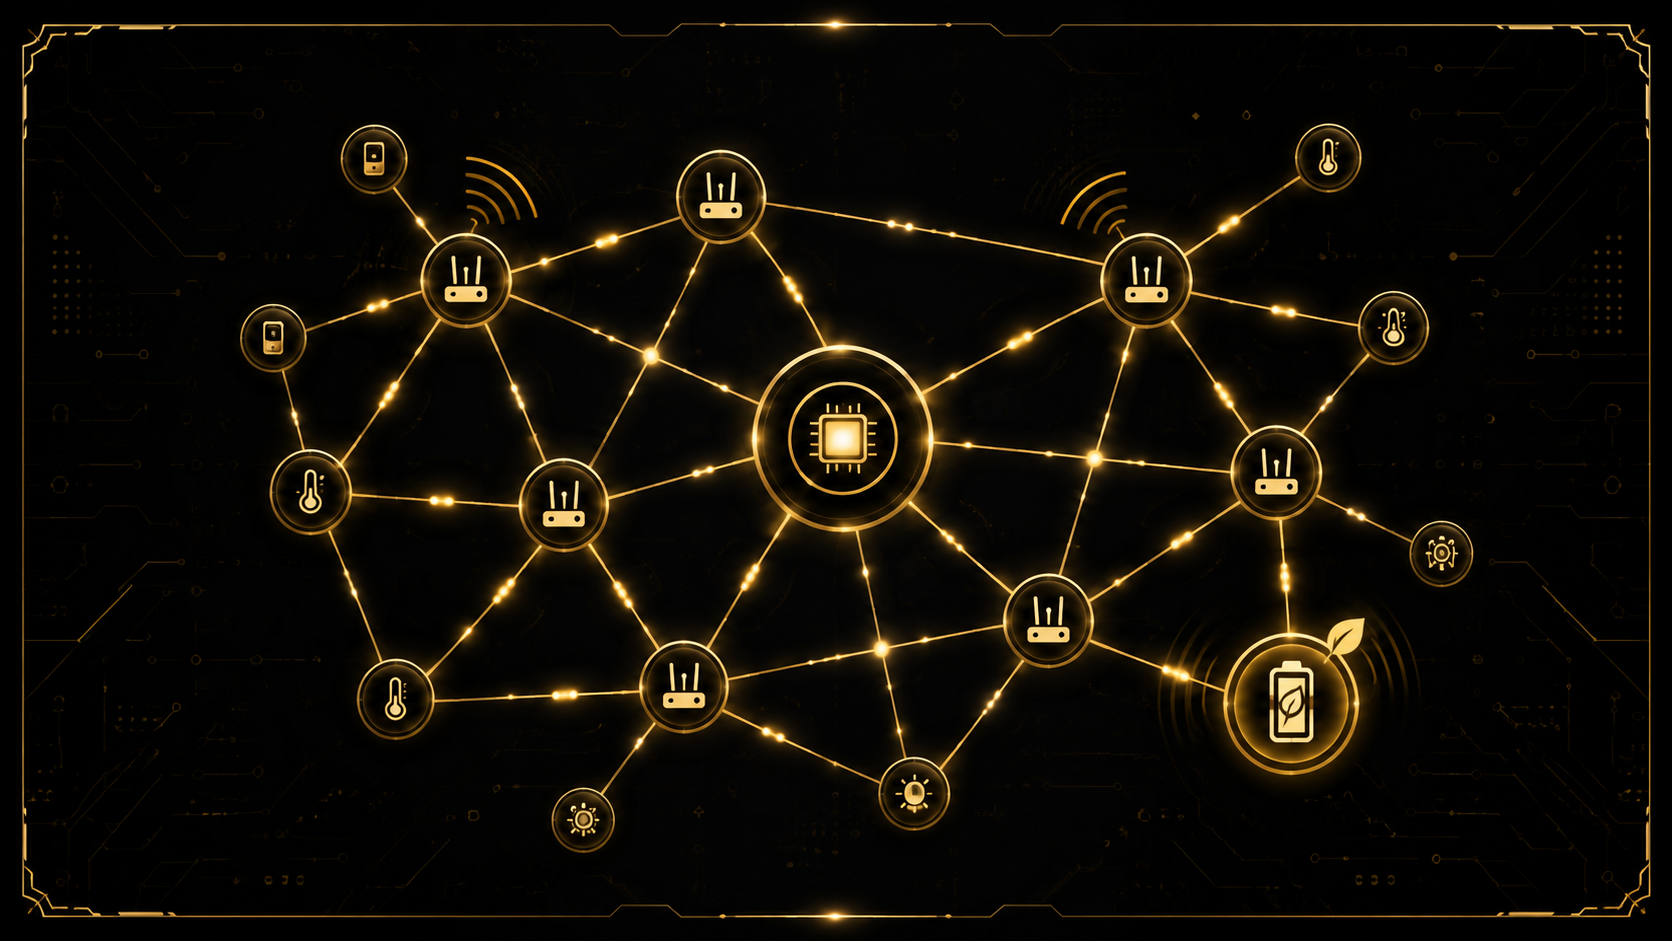
Der Koordinator und alle Router bilden zusammen ein Mesh. Muss eine Nachricht von einem Gerät zu einem anderen, springt sie von Router zu Router, bis sie ankommt — eine direkte Verbindung zwischen Sender und Empfänger ist nicht nötig. Das Starke daran ist die Selbstheilung: Verliert ein Router den Strom, findet Zigbee automatisch einen neuen Weg über andere Router. Deshalb fügt mehr netzbetriebene Zigbee-Hardware nicht nur Funktionen hinzu — sie macht das ganze Netz stärker und zuverlässiger.
Das Funkmodul: 2,4 GHz, Kanäle und das Leben mit WLAN
Das meiste Zigbee läuft im weltweiten 2,4-GHz-Band mit 250 kbit/s über 16 Kanäle (Nummern 11 bis 26). Da auch WLAN im 2,4-GHz-Band lebt, können sich beide stören. Die praktische Lösung: einen Zigbee-Kanal in den Lücken zwischen den belegten WLAN-Kanälen wählen (Kanäle 15, 20 und 25 sind gängige Wahlen). Den Kanal bei der Einrichtung gut zu wählen ist einer der einfachsten Wege zu einem grundsoliden Netz.
Das Adressierungssystem
Zigbee nutzt einige Kennungen, denen Sie ständig begegnen:
- PAN ID — eine 16-Bit-Zahl, die Ihr konkretes Netz kennzeichnet (mit einer 64-Bit-Extended-PAN-ID zur Eindeutigkeit). Jedes Gerät eines Netzes teilt sie.
- 64-Bit-Adresse (IEEE-/MAC-Adresse) — eine dauerhafte, weltweit eindeutige Adresse, in jedes Gerät eingebrannt.
- 16-Bit-Kurzadresse — eine temporäre Netzadresse, die der Koordinator beim Beitritt zuweist und die für die effiziente tägliche Kommunikation dient.
Stellen Sie sich die 64-Bit-Adresse als die dauerhafte Seriennummer des Geräts vor und die 16-Bit-Kurzadresse als die lokale „Hausnummer", die es beim Beitritt zu Ihrem Netz erhält.
Der Zigbee-Stack in Schichten
Zigbee versteht man am besten als Stack, jede Schicht mit einer Aufgabe:
- PHY & MAC (802.15.4): das Funkmodul und wie Geräte sich den Äther teilen.
- NWK (Netzwerkschicht): Beitritt zum Netz, Adressierung und Mesh-Routing.
- APS (Application Support Sublayer): Nachrichten an die richtige Anwendung zustellen, plus Binding und Gruppen.
- ZDO (Zigbee Device Object): Geräte- und Diensterkennung sowie Netzverwaltung — wie Geräte herausfinden, was andere können.
- Anwendungsschicht: Ihre eigentliche Funktionalität, organisiert in Endpoints und Clustern (nächster Abschnitt).
Das Anwendungsmodell: Endpoints, Cluster und Attribute
Hier beschreibt Zigbee, was ein Gerät tut, und es ist elegant, sobald der Groschen fällt:
- Endpoints sind wie nummerierte Anwendungssteckplätze auf einem Gerät (1–240). Ein Gerät mit zwei Relais kann zwei Endpoints anbieten, einen pro Relais.
- Cluster sind standardisierte Funktionsblöcke, definiert von der Zigbee Cluster Library (ZCL) — etwa ein „On/Off"-Cluster, ein „Level Control"-Cluster zum Dimmen oder ein „Temperature Measurement"-Cluster. Cluster lassen ein Leuchtmittel einer Marke dieselbe Sprache sprechen wie das einer anderen.
- Attribute sind die Datenwerte in einem Cluster — die aktuelle Temperatur, der Ein/Aus-Zustand, der Batteriestand.
Zwei weitere Begriffe vervollständigen das Bild: Binding verknüpft eine Quelle (etwa das On/Off-Cluster eines Schalters) direkt mit einem Ziel (einem Licht), sodass sie ohne den Koordinator dazwischen sprechen; und Gruppen lassen einen Befehl viele Geräte zugleich steuern (alle Lichter eines Raums).
Zigbee 3.0 und Interoperabilität
Älteres Zigbee teilte Geräte in getrennte „Profile" (wie Home Automation), die sich manchmal nicht gut mischten. Zigbee 3.0 vereinte alles in einem Standard mit gemeinsamer Anwendungsschicht und einem definierten „Base Device Behavior", sodass zertifizierte Geräte verschiedener Hersteller zusammenarbeiten sollen. Beim Kauf von Hardware ist „Zigbee 3.0" das Etikett, auf das man achten sollte.
Sicherheit
Zigbee nimmt Sicherheit ernst und nutzt durchgängig AES-128-Verschlüsselung. Die Kernbegriffe:
- Network Key (Netzschlüssel): von allen Geräten im Netz geteilt, verschlüsselt er den normalen Verkehr, sodass Außenstehende ihn nicht lesen können.
- Link Keys: paarweise Schlüssel, die den sensiblen Austausch des Netzschlüssels beim Beitritt eines Geräts schützen.
- Trust Center: die Sicherheitsrolle des Koordinators — es autorisiert, welche Geräte beitreten dürfen, und verwaltet die Schlüssel.
- Install Codes: ein gerätespezifischer Code (oft auf einem Aufkleber oder QR), der in Zigbee 3.0 zum sicheren Beitritt dient, damit der Netzschlüssel nie im Klartext preisgegeben wird.
In der Praxis verwaltet ein guter Hub all das für Sie — aber zu wissen, dass es existiert, erklärt, warum der Beitritt ein bewusster, kontrollierter Schritt ist und nicht „alles darf sich verbinden".
Beitritt (Pairing) in der Praxis
Ein Gerät hinzuzufügen folgt einem einfachen Muster: Sie versetzen das Netz am Koordinator in einen temporären Permit-Join-Modus, dann setzen Sie das neue Gerät in den Pairing-Modus. Das Gerät findet das Netz, das Trust Center autorisiert es, es erhält den Netzschlüssel und eine Kurzadresse und erscheint in Ihrem System. Danach schließen Sie Permit-Join wieder, um das Netz abgeriegelt zu halten.
Batterielaufzeit: schlafende Endgeräte
Das Geheimnis jahrelanger Batterielaufzeit ist, dass Endgeräte fast die ganze Zeit schlafen. Ein schlafendes Endgerät wacht kurz auf, um einen Wert zu senden, fragt dann seinen Eltern-Router ab, um auf es wartende Nachrichten abzuholen, und schläft wieder. Weil es weit öfter aus als an ist, ist der durchschnittliche Stromverbrauch winzig. Der Kompromiss ist Latenz — ein Befehl an ein schlafendes Gerät wartet bis zur nächsten Abfrage — weshalb Lichter und Schalter meist netzbetriebene Router sind, während Sensoren schlafende Endgeräte sind.
Die Hardware, die Sie nutzen werden
Zigbee läuft auf 802.15.4-Funkchips. Gängige sind Texas Instruments CC2652 / CC1352, Silicon Labs EFR32 (Mighty Gecko) sowie neuere Teile wie Espressifs ESP32-H2 / ESP32-C6 und Nordic nRF52 mit 802.15.4. Für einen Koordinator ist der einfachste Weg ein fertiger USB-Stick (etwa ein Sonoff-Zigbee-3.0-Stick auf CC2652-Basis oder ein ConBee/RaspBee), der in einen Computer oder Raspberry Pi kommt.
Die Software-Stacks
Auf Geräten liefern Hersteller Stacks wie TIs Z-Stack und Silicon Labs' EmberZNet. Doch das Open-Source-Ökosystem macht Zigbee für alle zugänglich: Zigbee2MQTT verwandelt einen Koordinator-Stick in eine Brücke, die jedes Zigbee-Gerät als einfache MQTT-Nachrichten bereitstellt, und ZHA (Zigbee Home Automation) integriert Zigbee direkt in Home Assistant. Für das Projekt nutzen wir Zigbee2MQTT, weil es Zigbee direkt mit der MQTT-Welt verbindet.
Praxisprojekt: ein echtes Zigbee-Sensornetz bauen
Hier ein wirklich baubares Projekt. Das Ziel: ein Zigbee-Batteriesensor, dessen Temperatur und Luftfeuchte in MQTT fließen, wo jedes Dashboard oder Programm sie nutzen kann. Sie brauchen einen Zigbee-Koordinator-USB-Stick, einen Computer oder Raspberry Pi und einen beliebigen Zigbee-3.0-Sensor.
Teil 1 — der Koordinator (Zigbee2MQTT)
Stecken Sie den Stick ein und betreiben Sie Zigbee2MQTT mit Docker. Eine minimale docker-compose.yml:
services:
  zigbee2mqtt:
    image: koenkk/zigbee2mqtt
    restart: unless-stopped
    ports:
      - "8080:8080"
    volumes:
      - ./data:/app/data
      - /run/udev:/run/udev:ro
    devices:
      - /dev/ttyUSB0:/dev/ttyUSB0    # der serielle Port Ihres Sticks
    environment:
      - TZ=Europe/Berlin
Und eine minimale data/configuration.yaml, die Zigbee2MQTT auf Ihren MQTT-Broker (die gleiche Art Broker wie im MQTT-Leitfaden) und seinen seriellen Port richtet:
mqtt:
  base_topic: zigbee2mqtt
  server: mqtt://localhost:1883
serial:
  port: /dev/ttyUSB0
frontend:
  port: 8080
permit_join: false
Starten Sie es mit docker compose up -d und öffnen Sie das Web-Frontend unter http://ihr-host:8080. Das ist Ihr Zigbee-Koordinator und Ihre Steuerzentrale.
Teil 2 — einen Sensor koppeln
Klicken Sie im Zigbee2MQTT-Frontend auf Permit join (das öffnet das Netz für einige Minuten). Versetzen Sie nun Ihren Sensor in den Pairing-Modus — meist durch Halten seiner Taste oder Entfernen und Wiedereinsetzen der Batterie. Innerhalb von Sekunden erscheint er in der Geräteliste, und Sie können ihm einen sprechenden Namen wie living_room_sensor geben. Schalten Sie Permit-Join wieder aus, um das Netz sicher zu halten. Sie haben gerade ein echtes Gerät in Ihr eigenes Zigbee-Netz aufgenommen.
Teil 3 — die Daten in MQTT sehen
Hier fügt sich alles zusammen. Zigbee2MQTT veröffentlicht die Daten jedes Geräts als JSON auf einem nach ihm benannten Topic. Abonnieren Sie mit dem Kommandozeilen-Werkzeug aus dem MQTT-Leitfaden:
mosquitto_sub -h localhost -t "zigbee2mqtt/#" -vJedes Mal, wenn der Sensor meldet, sehen Sie etwas wie:
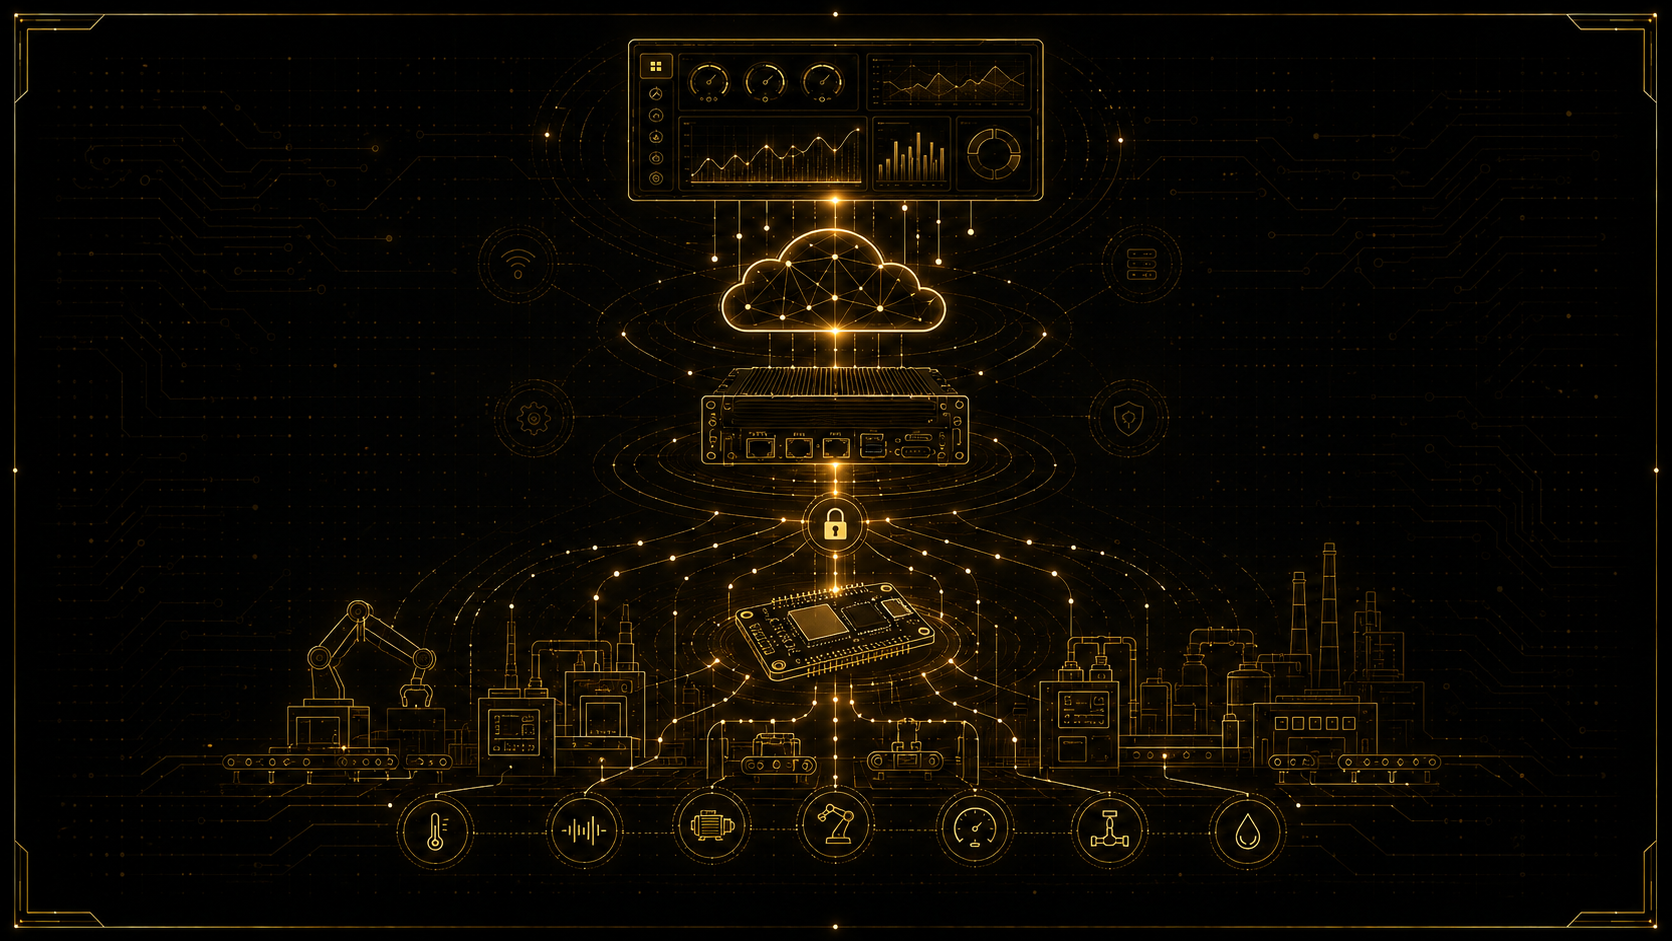
zigbee2mqtt/living_room_sensor {"temperature":22.4,"humidity":47,"battery":98,"linkquality":120}Das sind die Daten Ihres Zigbee-Sensors, die live in MQTT fließen — echt, strukturiert und bereit, in einer Datenbank gespeichert, auf einem Dashboard dargestellt oder mit einer Automatisierung genutzt zu werden. Sie haben eine komplette drahtlose Sensor-Pipeline gebaut: Zigbee-Gerät → Mesh → Koordinator → Zigbee2MQTT → MQTT.
Teil 4 — wohin damit
Von hier öffnen sich die Möglichkeiten. Richten Sie die eingebaute Home-Assistant-Integration von Zigbee2MQTT auf Ihr Smart-Home-System, und der Sensor erscheint automatisch mit Dashboards und Automatisierungen. Fügen Sie eine netzbetriebene Zigbee-Steckdose hinzu, und sie wird zum Router, der Ihr Mesh erweitert. Oder, für den Sprung ins tiefe Wasser, schreiben Sie eigene Firmware für einen EFR32 oder ESP32-H2, um ein eigenes Zigbee-Gerät mit eigenen Clustern zu bauen — dieselben Konzepte, die Sie nun verstehen, auf Chip-Ebene angewandt.
Wie sich Zigbee vergleicht
Zigbee steht unter mehreren stromsparenden Funkoptionen, jede mit einer Nische. Bluetooth Low Energy ist stark für direkte Handy-zu-Gerät-Verbindungen, aber schwächer für große, dauerhaft aktive Meshes. WLAN bietet hohe Bandbreite, aber weit höheren Stromverbrauch, ungeeignet für Knopfzellen-Sensoren. Thread teilt Zigbees 802.15.4-Funk, ist aber IP-basiert und zentral für den neueren Matter-Standard. Z-Wave ist eine ähnliche Mesh-Idee auf einem Sub-GHz-Funk mit weniger WLAN-Störung, aber geringerer Datenrate. Zigbees Mischung aus geringem Stromverbrauch, ausgereiftem Mesh, riesigem Geräte-Ökosystem und niedrigen Kosten hält es zur Top-Wahl für dichte Sensornetze.
Best Practices und häufige Fallstricke
- Fügen Sie netzbetriebene Router hinzu (Steckdosen, Leuchtmittel), um das Mesh zu stärken, bevor Sie die Reichweite beschuldigen.
- Wählen Sie einen Zigbee-Kanal fern von Ihrem WLAN, um Störungen zu vermeiden.
- Halten Sie den Koordinator fern von USB-3.0-Ports und Hubs — sie strahlen 2,4-GHz-Rauschen ab; nutzen Sie ein Verlängerungskabel.
- Aktivieren Sie Permit-Join nur beim Hinzufügen eines Geräts, dann wieder aus.
- Kaufen Sie „Zigbee 3.0"-Geräte für die beste Interoperabilität.
- Erwarten Sie Latenz bei schlafenden Sensoren — das ist normal, kein Fehler.
Ein Lernpfad
Gehen Sie der Reihe nach vor: einen Koordinator-Stick besorgen und Zigbee2MQTT betreiben; einen Sensor koppeln und seine Daten in MQTT beobachten; ein netzbetriebenes Gerät hinzufügen und sehen, wie es zum Router wird; die Daten mit einem Dashboard oder Home Assistant verbinden; und dann, wenn Sie tiefer wollen, Cluster und Binding erkunden und schließlich eigene Geräte-Firmware bauen. Jeder Schritt nutzt die Konzepte dieses Leitfadens und baut echtes, dauerhaftes Verständnis auf.
Wie es weitergeht
Sie verstehen Zigbee nun von Grund auf — seine Rollen, Mesh, Stack, Cluster, Adressierung, Sicherheit und Batteriemodell — und Sie haben ein funktionierendes Sensornetz gebaut, das echte Daten in MQTT einspeist. Von hier ist ein ganzes smartes Gebäude aus Sensoren und Steuerungen nur mehr desselben, gut gemacht.
Zigbee ist einfach zu beginnen und darunter reich — und zuverlässige, sichere, stromsparende drahtlose Sensornetze (und die Hardware dahinter) zu entwerfen, ist genau die Ingenieursarbeit, die ich tue. Wenn Sie ein IoT-Produkt, ein Smart-Building-System oder ein eigenes Zigbee-Gerät bauen, nehmen Sie Kontakt auf — ich helfe Ihnen gern.